Friday, October 8, 2010

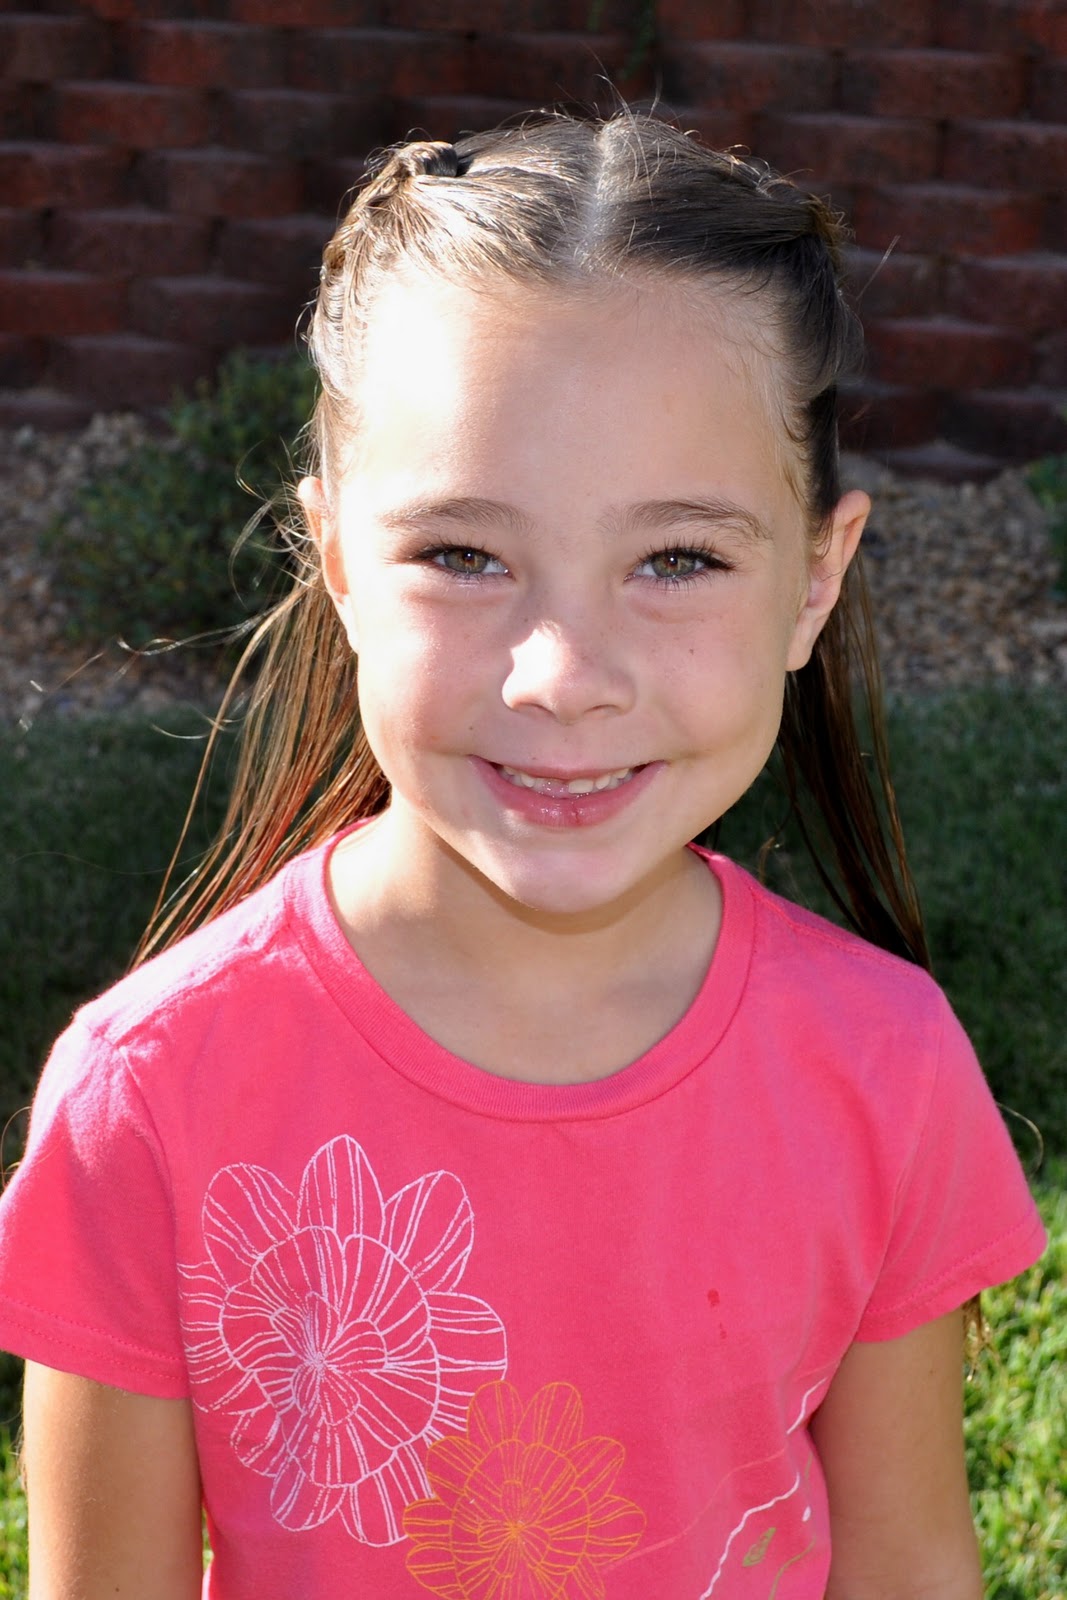
Puppy Dog Ears

I usually refer to these as "Heidi Braids" (which is their true name) but my princess really wanted to call this post "Puppy Dog Ears" - and so it is.  :) 
 Part the hair in half using any part you like.  I just used the "Butt Crack Part" because we were kind of rushed that morning. 
 Pull each half of the part up into a piggie and then braid it. 
We've done the Quad Braid on each of ours but I've found that it's cute with any type of braid. 
 Now pull the bottom of the braid up to the top elastic and secure them both together using a second elastic and wrapping it around the entire braid.  Have the bottom of the braid lying on top when you secure it so that the ends are sticking out perfectly, 
Wet down the ends of the braid and add a bit of gel or mousse.  Curl them over your fingers and they will dry that way.  Now you can add some hair clips to finish it off.  :)

Thursday, October 7, 2010

Meet in the Middle

This is a traditional double French Braid with a bit of a different look. 
Start by parting the hair into two sections.  Set one section aside and begin with the other. 
French Braid that side down to about the middle of the head and then secure it with an elastic. 
 Now have your princess lay on her tummy on her bed to make it easier for the bottom half.  Start the bottom French Braid at the neck and braid all the way to the end of the top braid. 
 Combine the two together with an elastic.  While you princess is still on her tummy, start the bottom braid on the opposite half. 
Tie it off with an elastic in the middle of the head again and then finish off by French Braiding the top half and combining it together with the bottom by securing it with an elastic. 
You should now have to piggies that both have two French Braids feeding into them. 
You can leave the piggies plain like we've done here or finish them off with braids, Corkscrews, or buns. 

Wednesday, October 6, 2010

Tied Up and Twisted

Make sure the hair is wet and part the hair from ear to ear.  (You'll be working with just the top half of the head so these directions will apply only to that area of the hair.) 
 Divide the hair into two equal halves and set one half aside. 
 Now make a diagonal part going from the corner of the middle part up to the bang line. 
 Pull out a small section on the lower half of the diagonal.  It will be about 1 inch thick and just above the ear - set that aside for a minute.  Now take the top half of the diagonal part and divide it into two sections and tie them together (It's the same as the first step of tying your shoe.)  Now combine the tied hair with the lower section of the diagonal and secure it with an elastic.
  Now grab that small bit of hair from above the ear and twist it together with the combined diagonal sections. 
Hold it together with a clip while you move to the other side to repeat the steps.
 
 Make sure your second diagonal part mirrors the original one. 
 Once you've done all the steps on the opposite side, combine the two twists together in the back of the head.  Spray for hold and then add a hair clip. 

Tuesday, October 5, 2010

Tic-Tac-Toe

My princess came up with the name for this one because she said it looked like X's and O's.  :)  This hairstyle is easiest when the hair is really wet.  You can add a little mousse or product into the hair for extra hold if you would like. 
Divide the hair into two sections and pull each side up into it's own piggie. Now grab 4 chopsticks - you can use the regular wooden ones for eating or you can pick up some of these ones specifically for hair.
  I grabbed these ones off a clearance table and Sally's. 
 Poke the sticks through the hair, just behind the elastic holding the piggie.  Now take a small section of hair from the piggie and wrap it (in no organized fashion) around the sticks.  When you get to the end, just bobby pin it into the back of the piggie. 
Continue doing this with more small sections of hair - making sure to secure each one with a bobby pin at the end.  You can either tuck all the ends in with the pins or leave some sticking out like we've done here. 
With your last couple of strands you'll want to twist them before wrapping them.  This gives it more of an elegant look.  (You don't want to twist all the sections or else your bun will stick out too far.) 
 Give it a good spray and it will hold all day! 
*This is also a great hairstyle for those moms out there - with only one bun of course.  :)*

Monday, October 4, 2010

The Cast

I was looking at my princess's hair after doing Red Light, Green Light and decided that I could take that to the extreme and  cover the entire ponytail.  That's how we came up with The Cast.  (It looks like a cast over a broken arm.)  :) 
 I always like to do a small Pull-Through on top of the head when all of the hair is being pulled back.  I think it adds a little flare to the style.
 Start with a ponytail and simply create your first Wrap around to hide the elastic. 
Make sure to pull all your Wrap Around ends through the elastic they're covering using a Topsy Tail.  This will make them hold tight and last all day long. 
 Under the first Wrap around you will want to add another elastic.  Have a Wrap Around on top of that one as well to hide the elastic. 
 Continue doing this all the way down the ponytail until it is fully covered except for the ends.  Add a hairclip and you're done!
 I'm going to have a fun variation on this idea coming up in my "Halloween Hairdos" that I'll be starting next week.  :)  Keep your eyes peeled for it! 

Saturday, October 2, 2010

Red Light, Green Light

I used to love this game when I was a kid and this hairstyle kind of reminded me of it. 
Start with a small section of hair in front that is secured into an elastic.  Use your Topsy Tail to make a Pull-Through.  Spray the hair down really well so that it's wet and comb it nice and straight. 
 About an inch down add another elastic.  Grab a small piece of hair just below the elastic and create a Wrap Around.  Do this again another inch down. 
Now gather all the hair, including the little section you just completed and pull it into a ponytail.  Grab a section of hair from just under the elastic and create another Wrap Around over the whole ponytail.
  Go down about 1 1/2 inches and place another elastic on the ponytail and create another Wrap Around. 
Do this as many times as you can - depending on how long your princess's hair is. 
Finish it off with a flower clip.
 It looks like you're going and stopping, just like Red Light, Green Light.  :)

Friday, October 1, 2010

Squish!

I've done these braids many times before and they never get old for us.  We love the Squish Braids!  This is just a bit of a different take on them but still a very simple hairstyle. 
Begin by sectioning out some hair along the bang line in the front.  Set it aside and then pull the rest of the hair back into a ponytail. 
 Divide the section of hair in fron tinto two pieces.  Secure each area with an elastic. 
 Now (making sure the hair is VERY wet) create a loose regular 3-Strand Braid.  When you get to the end of the braid, hold onto the middle strand and pull it tightly while you squish the other two strands up toward the elastic. 
 Even it out so it looks the way you want and then add it into the ponytail with another elastic. 
Repeat these steps to create another Squish Braid with the other section. 
Once all of the hair is in the ponytail, take a small section of hair from underneath and wrap it around to hide the elastic.  Now grab your Topsy Tail and pull the end of the wrapped section through the bottom of the ponytail to secure it.  (Make sure it is also pulled through the elastic for a tighter hold.) 
 Now you can add a hair clip if you want or just leave it "naked".  :)