Sunday, November 7, 2010

Haircut and Church Do

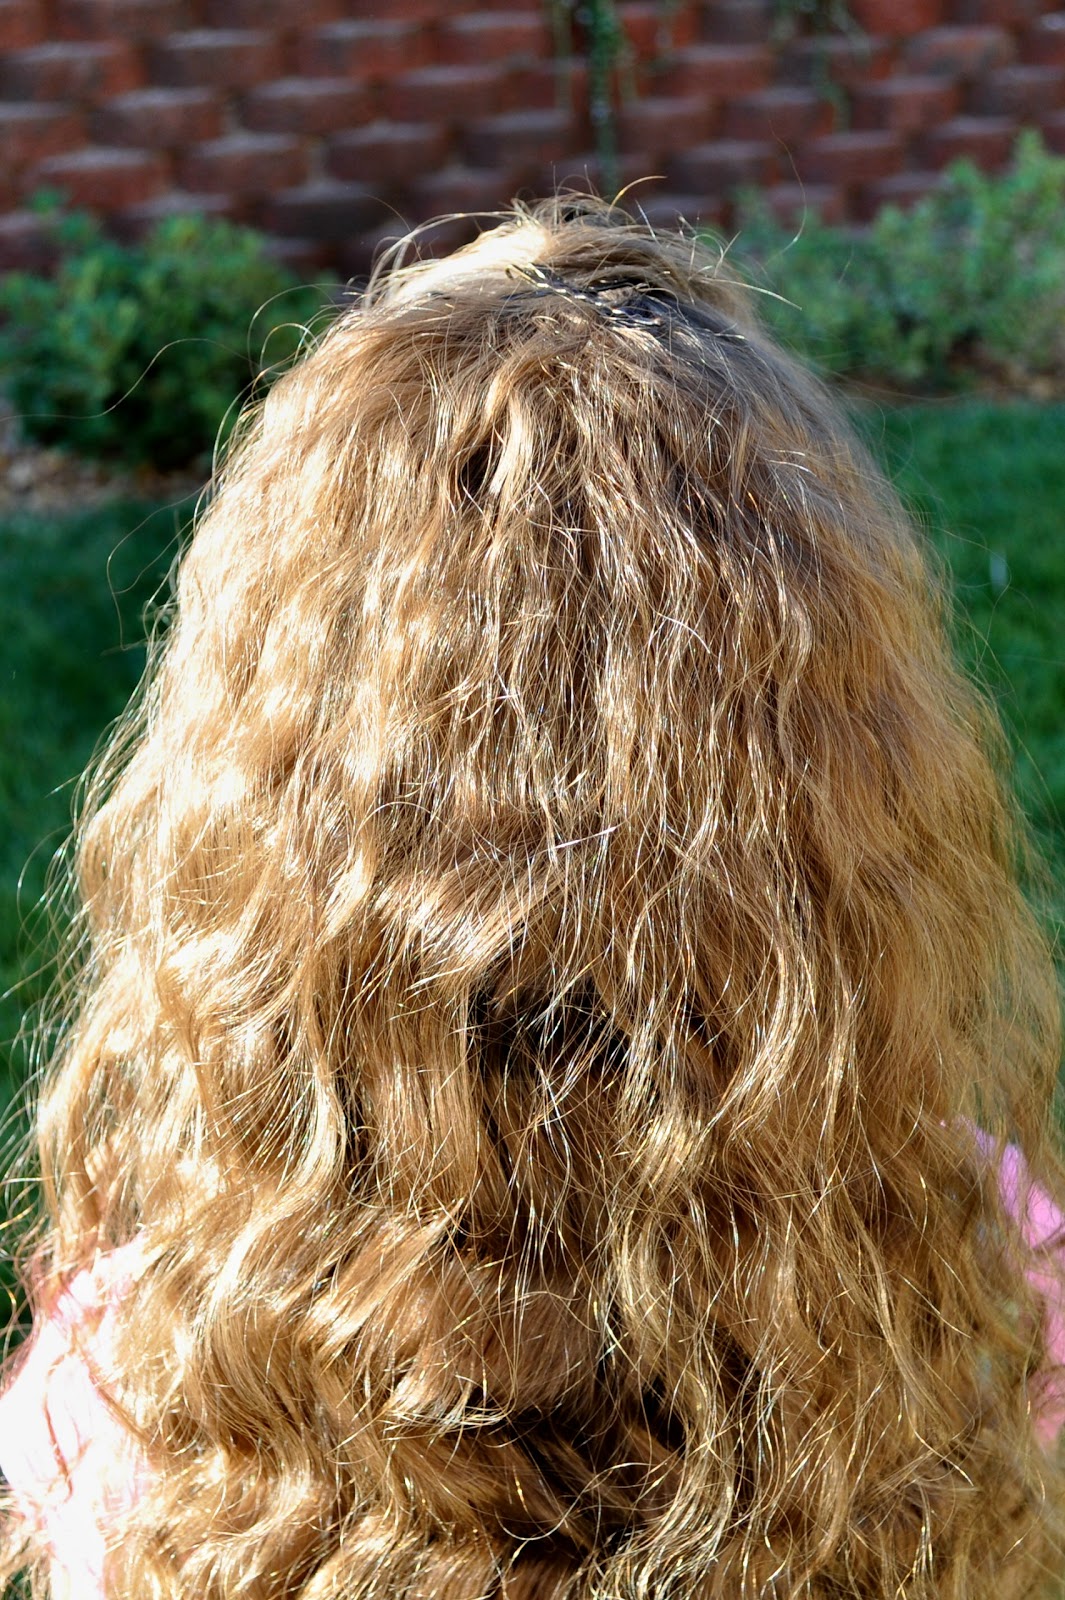
My princess was in need of a serious trim to her hair.  I usually try to trim is about every 3 weeks but it had been a while and her ends were always getting tangled.
Here she is after the cut and we took a good 3 inches off just so it wouldn't be so long.  Her hair seems to grow fast and I'm sure we'll be trimming it again in no time.
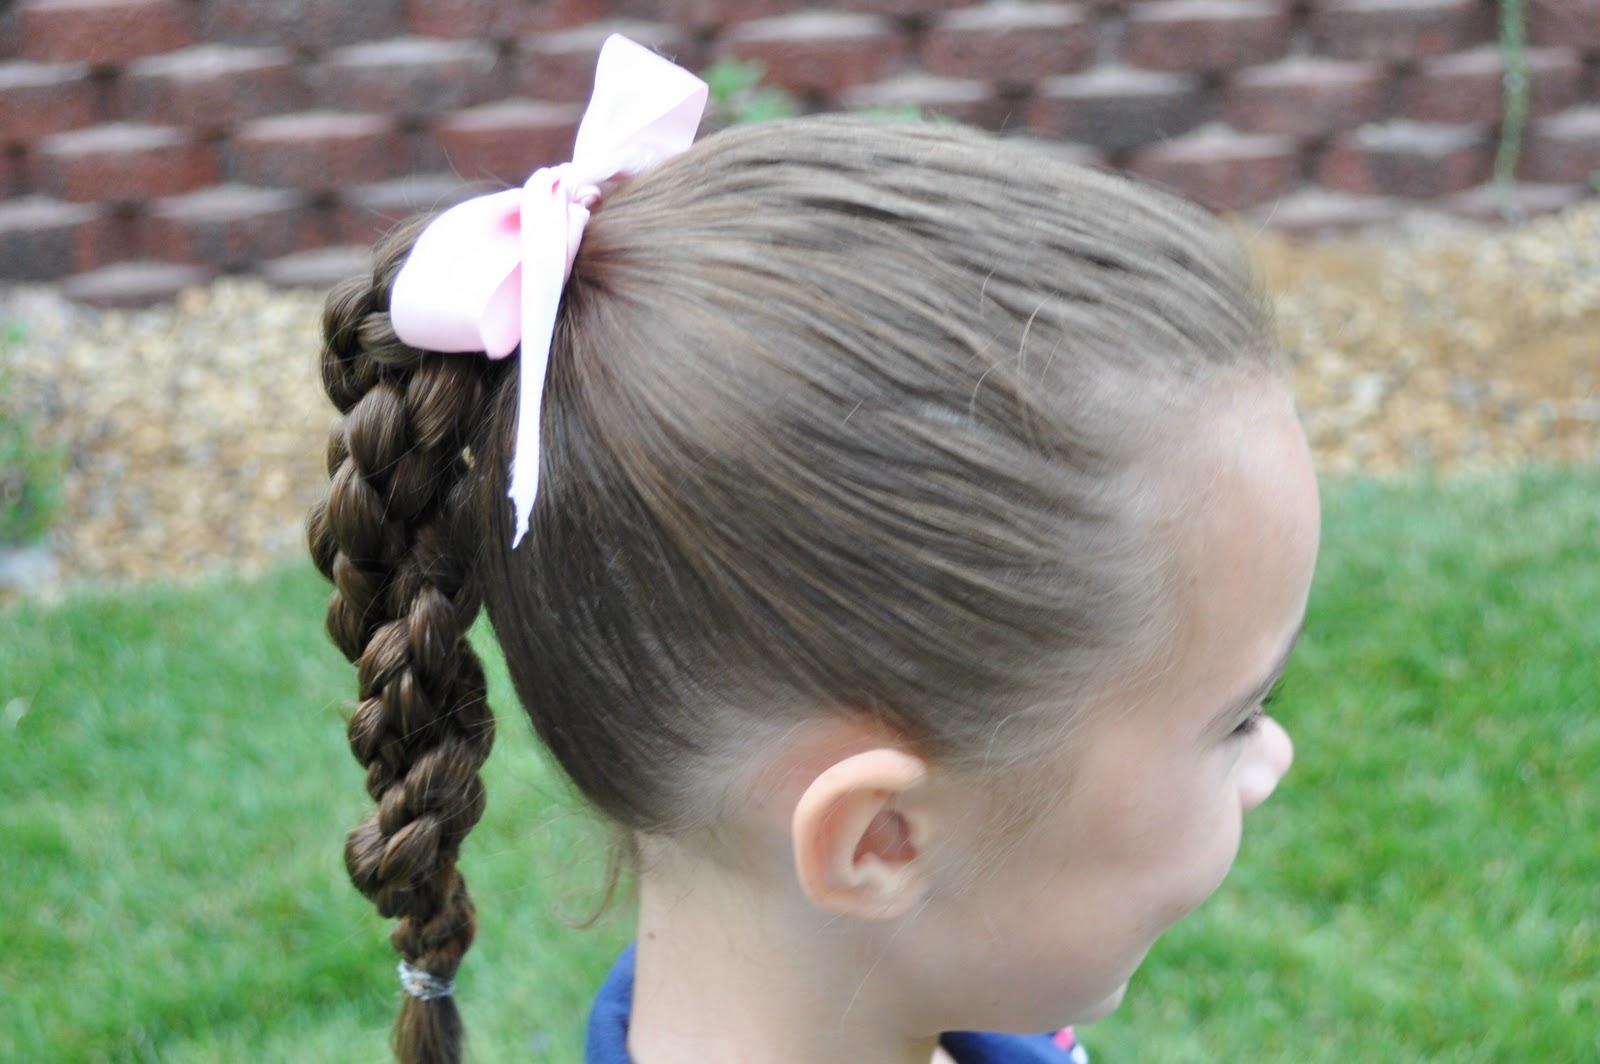
We had church that morning so we decided to do something straight and pretty.  I started by parting out 2 inches of hair from ear to ear.  I then parted that section a little off-centered and created two pieces.
 
 I set the two pieces aside and then grabbed a small section of hair from behind the left ear and braided it all. 
Then I pulled the braid along the ear-to-ear part just like a headband.  Now tuck that little braid inside the hair behind the right ear and secure it with bobby pins. 
 Now braid each of the two front sections.  Pull the two sections over the headband braid and tuck them under the hair.  Secure them with bobby pins and softly smooth the hair over to hide the pins.  You'll end up with a nice, soft, hair-down look.

Saturday, November 6, 2010

Piggie Pull-Throughs

Here's another really simple one that I saw on the back o four Topsy Tail box.
Simply divide the hair right down the middle so you have two sides. 
Create a low piggie on each side. 
Now, using your Topsy Tail, create a Pull-Through with each piggie. 
We just finished it off with a headband on top to fancy it up a bit.
I love using these little headbands with things because you can clip and flowers on that you like.  You can find instructions for these headbands here.

Friday, November 5, 2010

Pretty Pin-Up

So I thought this was something that everyone pretty much knew how to do and I got stopped in the store 3 times with people asking directions on it so I thought I'd do a post.
My princess just had some left over waves from her braids the day before so we wanted to let them down for the wavy look.
Now simply grab a section of hair from the front and twist is a couple of times. 
Add 5 or 6 bobby pins making "X"s to hold it in place. 
 Now fluff the waves around to the front and spray with some hairspray. 
 Very simple huh!

Thursday, November 4, 2010

Ribbon Bun

This one turned out really pretty and I don't think the pictures do it justice.
Begin by sectioning out a bit of hair in front and create a small Pull-Through on one side.  Now you can either leave your Pull-Through straight or braid it like we've done here.
Wet the hair down and pull all of it back into a ponytail, being sure to include your Pull-Through as well.
Now separate the ponytail into as many small sections as you like - we've done 12 here.  Add a strand of ribbon to each section by tucking it through the elastic holding the ponytail.  (You will have ends of the ribbon sticking out but it will all be hidden when your bun is completed.)
Divide each small section into two pieces and, using the ribbon as your third piece, create a 3-strand braid.  Secure the end with an elastic.  Go ahead and do this with all of your small sections. 
Now that you have all your braids, just roll them up into the head once or twice (depending on the length of hair) and bobby pin it down.  Let the little wispy ends of the braid stick out wherever you like.  Continue doing this with all the braids making sure that the are evenly pinned around the original elastic. We've also added some little flowers that are glued to hair pins and just tucked them in and around the bun for some more detail.   

Wednesday, November 3, 2010

8-Strand Braid

So if you're totally intimidated by the name, there's no need to be.  It's actually pretty simple. 
 
Begin by pulling all of hair back into a tight ponytail.
 Divide that ponytail into 2 equal halves and make a Quad Braid out of each half.    If you don't know how to do a Quad you can go here. 
Tie the bottoms of your braids off with elastics to hold them together. 
Now twist to two Quads together.  Connect them together at the bottom with one final elastic and then you can take out the previous two elastics if you like.  Pretty simple huh! 
Also, I was finally able to get a link to a video onto our beautiful "Challah Braid" post which you can find here. 

Tuesday, November 2, 2010

Angel Halo

This hairstyle will work out best if you start with completely wet hair. 
Make a small 1 inch part slightly off-center in the front of the hair.  This is where you're going to begin your French Twist. 
 Grab a small bit of hair from right next to the part and divide it into two small pieces.  Pull the outside piece up over the inside piece - make sure you always repeat this pattern throughout the entire hairstyle.  Now add a little bit of hair to each little piece and repeat the twist, outside piece up over the inside piece.  Add some more hair to each strand and repeat.
  Continue doing this all the way around the head.  It does take some practice to get it to stay nice and tight so don't get frustrated if it's not perfect right in the beginning.  Keep your comb handy too because you will need to comb out your two pieces that you're working with often just to make sure they don't get lumps in them. 
 When you've gathered all the hair and your twist is almost the whole way around the head, tie it off with an elastic.
  Now grab another elastic and create a Messy bun on the side.  Add your favorite clip in the hair and you're all set!

Monday, November 1, 2010

No Go Without A Bow

We've used several little bows in this hairstyle and you can never go wrong with a bow in your princess's hair.  
Start by parting out a section of hair in the front from ear to ear. 
 Now part that section into two pieces making sure the part is off-centered. 
Create one Pull-Through out of the smaller section and two Pull-Throughs out of the larger section. 
Separate the Pull-Through on the smaller section into two pieces and create a Corkscrew and then have your princess hold it while you move to the other side.      
On the larger section, create a Corkscrew out of the two Pull-Throughs.  Combine the two Corkscrews at the back of the head with an elastic.
Now you'll want to grab your little bows.  We bought some pre-made bows in the craft section at Walmart and then just glued some hair pins to the back.  
Gather the combined Corkscrews along with the rest of the hair into a low pony and secure it with an elastic.
 
You can finish off your ponytail however you like but we've done a Fish Bone braid for 2 inches, tied it with an elastic and then left the hair straight for 2 inches and added another elastic.  We just continued that pattern until we reached the bottom of the ponytail.  When we were finished we slipped our ribbon pins into place.