Sunday, February 27, 2011

Crossing Over

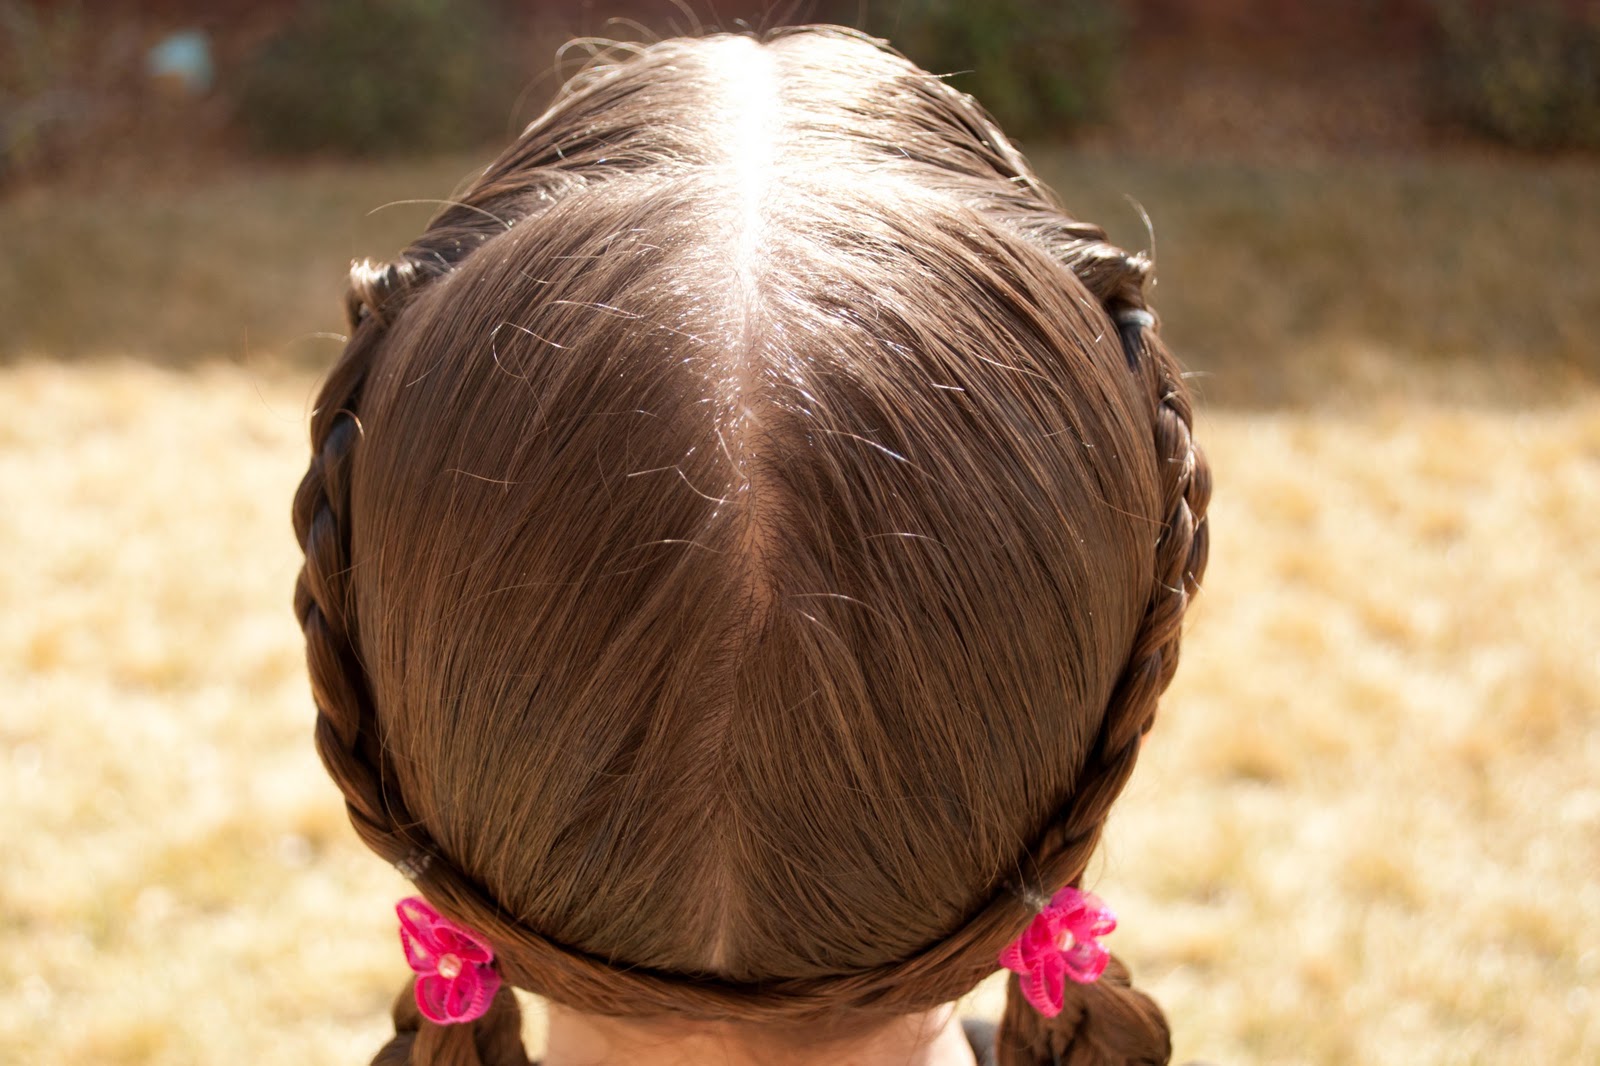
This is a fun little hairstyle that we came up with for church the other day.
 
Start by parting the hair right down the middle and beginning with the left half.  Section out a piece of hair from the ear up to the middle part.
  Gather it together into an elastic and create a Pull-Through. 
 Now separate that Pull-Through into 4 equal pieces and create a flat 4-Strand Braid.  Make it about 4 inches long and then secure it with an elastic. 
 Pull the rest of the right side down into a low ponytail - leaving the braid out of the ponytail. 
Now move over to the right side of the part and follow the same steps as on the right side.  You should now have two low ponytails and two loose braids. 
 Take the braid on the right side and divide the hair under the elastic into 4 equal twists.  Twist them over the middle part and combine them into the left-low ponytail with another elastic.  Now move up to the left braid and divide the hair under the elastic into 4 more equal twists.  These twist are going to be woven through the right side twists in an "over/under" pattern.  Once they've been woven through they can be added into the right-low ponytail with another elastic.  
 Now braid your two low ponytails into Flat 4-Strand Braids and secure the ends with elastics.  We've added small flower clips glued to bobby pins instead of regular hair clips because we didn't want to hide any of the weaving.   

Saturday, February 26, 2011

Feeling a Little Left Out

My little guy got a medal for baseball the other day and he said that he wanted to be on "the blog" with his medal and his cool hair.
I couldn't say no to this sweet little face so here he is.
This is a super complex hairstyle so prepare yourself...
Add gel to the wet hair and spike it upwards.  Hope that's not too difficult for you.  :)
Now he can say that he's been on the blog and the world is at peace again.  :)

Friday, February 25, 2011

Flashback Friday: Growing Out the Bangs

These pictures were taken just a couple days after my princess turned 4 and she decided that she was getting to old for "little girl bangs". 
I remember dreading the time when we would have to grown out these bangs but it really wasn't too bad.
  We just rolled them to one side and used bendy clips to secure them into place.  On this particular day we did some low Indian Braids but the rolled bangs worked with any hairstyle. 
 We also did this style on her first day of preschool and she looked darling!

Wednesday, February 23, 2011

Hippie Hair

My princess had "Hippie Day" at school this past week and she was so excited to dress up. She looked at pictures of real Hippies online to decide what to do with her hair.  This is what she came up with and I think it looks pretty authentic.  :) 
 Begin by straightening all the hair.  (It would also be darling if you used a waver.)  Grab some colored pony beads and a bit of dental floss. Part the hair right down the middle a couple inches.  Grab two small strands on each side of the part - right up front - and set one aside for a minute. 
 Fold your piece of dental floss in half and feed the fold through one of your pony beads.  Keep the other ends of your floss tightly in your fingers so it doesn't come loose.  Now feed your strand of hair through the loop in the dental floss and then pull the floss back out through the bead.  This will automatically pull the strand of hair through the bead as well.  Wrap a small clear elastic around the strand, just under the bead, to hold it in place.  Continue adding as many beads to the strand as you like.  Do the same process with the other front strand that you set aside. 
 Pull out as many small pieces of hair around the head that you like.  Place beads on each of them.  We've done 5 strand of hair here but I would've done more if our morning hadn't been so rushed.  Once all of your strand have the beads on them, go ahead and curl the ends of those strands. 
Grab a knitted, stretchy headband to go around the head.  Pull each of your beaded strands up through the headband and stretch it around the forehead.  Now let the beaded strands down and you're all finished. 
Looking back on these pictures now, it would've been so cute to tie in some random small flowers on some of these strands.  After all, Hippies did have "flower power"! 

We also have another Hippie style that we've done previously called "Feeling Groovy".
 You can find instructions for that here.

Monday, February 21, 2011

Toddler Piggies Minus the Toddler

This one is really simple and works best on wet hair. 
Part the hair into two equal halves using any part that you like. - we've done a zig-zag part here.  Now pull each half up into a piggie. 
Braid the piggie using any braid you like.  Be sure to leave about 3 inches unbraided at the bottom.
  Now Wrap the braid around itself and pull the ends through the middle.  (Just like tying a know in a piece of thread.) 
 Secure your braid against the heads with a couple bobby pins on each side. 
You can either dry the ends that are sticking out and curl them or you can shape them into curls while they are still wet.  (Depending on which works better for your princess's hair.)

Friday, February 18, 2011

Springs

Here's a simple one that you're going to love! 
Give your princess her bath the night before you want to create your "Springs".
 
 After her bath you'll want to pull her hair into two piggies and Create a Hawser Braid out of each. 
 A Hawser Braid is made by twisting two Corkscrews together. 
Have her sleep in the Hawser Braids and in the morning her hair should be nice and dry.  (Hopefully... if not you can use a dryer to help it along.) 
 Now you can unravel your Hawser Braids and you should end up with 4 fun "Springs" on each side. 
 Of course, the perfect bow to top these off is a Korker bow!  :)
Korkers are made by wrapping Grosgrain ribbon around a dowel and popping them in an oven heated to 225 degrees for 25 minutes. 

Wednesday, February 16, 2011

Cure for the Headband Headache

This is not a new idea and I've seen it on the web several times but it's the first time that I've actually made my own. 
 If your princess is like mine, she has a basket full of headbands that are all tangled and messy.  Here is our solution:
Simply grab a large container of oatmeal cereal at your local store.  There are a few sizes so just make sure you get the one that is "headband-size".  :)  Empty your oatmeal into a gallon Ziploc bag so you can still use it.  Grab your favorite scrapbook papers and cut them to size and wrap your container.  We've also added some decorative ribbon to the top, bottom and middle of ours.  The nice thing is that you can also store your stretchy headbands inside the container - just open the lid.  :)
  Hope this helps some of you out there that may be as frustrated as I was with headbands!  

Monday, February 14, 2011

X's & O's

Happy Valentine's Day everyone!  This is our final post for the Valentine's hairstyles and it's a fun one.  Today is all about hugs and kisses so this is our "X's & O's" style. 
 
Start with a small section up front where you will create a Pull-Through that goes off to the right side.  Part the rest of the hair right down the middle and clip the left side out of the way for a minute.  Pull all of the hair on the right side of the part into a ponytail.  (Make sure to include your Pull-Through from the front.) 
 Grab a bun mold and pull it over the ponytail.  (Bun molds can be found at Sally Beauty Supply or can be made by cutting the toe out of a sock and rolling it over itself.)  Once your mold is in place you will spread the ponytail evenly around it and then slip another elastic over the hair and the mold to hold it in place. 
 Divide the excess hair from the bun into two sections and create a braid out of each.  Wrap the braids around the base of the bun and bobby pin them into place.  Now your "O" is finished. 
 Move over to the left side and part the hair evenly down the middle of the section and then again evenly across the section so that you now have 4 squares.  Leave the top-right square alone and clip the other 3 squares into their own temporary clip to keep them out of the way.  
   Begin a Dutch Braid in the top-right square and have it curve down into the inside corner.  Gather all the hair from that square and then plate the braid again 3 times without adding in new hair.  Unclip the bottom-left square and finish up your Dutch Braid.  Braid all the way to the end of the hair and secure it with an elastic. 
 Now move up to the top-left square and Dutch Braid that until all the hair has been gathered.  Plate it 3 more times OVER the previous braid.  Now unclip your last bottom-right square and finish up your Dutch Braid.    Braid all the way to the end of the hair and secure it with an elastic.
  Now fold both of the long braids up on top of themselves and secure with another elastic.  Let the ends of the hair just flip over naturally and add some ribbons to finish your "X" off. 
 Add a ribbon to the "O" as well and you're all done!

HAPPY VALENTINE'S DAY FROM ALL OF US TO YOU!
Here is our princess which you all know so well and she is 7 years old.
This is our oldest son who is 5 years old.
This is our middle son who is 3 years old.
This is our baby who is 14 months old. 

Sunday, February 13, 2011

Woven Heart

This is another one of my favorites.  You will want to leave yourself a good 30-45 minutes for this style as well but it's worth the time! 
Begin by creating a small section in the front of the head, right in the middle, and secure it at the back with an elastic.  We've used some fun colored elastics to make the heart stand out a bit more.  Separate that into 3 equal sections and set the middle section aside.  Braid the outside two sections into their own braids and place a temporary clip at the bottom to hold them from unravelling. 
 Now part out two more sections (one on each side of your original section) and make sure they don't go as far back onto the head as the first.  Combine one of the braids from the first section into the new section and secure it with an elastic.  Do this on the other side as well.  Now unplate any remaining braid that is below the new elastics.  Separate the two new ponytails in half and leave one half hanging down while you braid the other half.
  Part out two more sections just below your previous ones and add your new braids into them, securing them with an elastic.  Unplate any remaining braids that is below the elastics.    Separate the two new ponytails in half and leave one half hanging down while you braid the other half.  Now gather the last bit of hair just above the ear and combine that with the braid and secure it with an elastic.  do this for the opposite side as well.   Unplate any remaining braids that is below the elastics.    Separate the two new ponytails in half and leave one half hanging down while you braid the other half.  You will want these braids to go to the ends of the hair and clip them with a temporary clip so they don't unravel.  Now pull all the little "halves" from the ponytails that you didn't braid out of the way while you comb the rest of the hair hanging down and put it into a low elastic. 
 Move back up to the hair from your very first section and divide it into two pieces.  Twist the piece on the right side and pull it across the head and add it to the left side braid with an elastic.  Now move down to the second elastic on the right side, twist that hair and pull it across the head and add to the braid on the left side with an elastic. 
 Do this with the hair from the remaining two elastics on the right side and be sure that you are adding them into the braid on the left side so that the braid is being lifted into the middle of the head.  Twist each strand of hair on the left side of the head and weave them through the right strand so that they can be added to the right braid.  It sounds so confusing to type so hopefully the pictures help out. 
Finish your heart by adding one final elastic to the bottom to combine the two braids.  Now take the elastic out of the low ponytail so that the rest of the hair is hanging down flat. 
 You can curl the ends like we've done here or just leave it straight.