
Here's a new one that we came up with today that is basically just a variation on our Swedish Piggies. It looks difficult doesn't it! That's the beauty of it, this is one of the most simple hairstyles to create! We've called it "Basket Weaving" because that's exactly what it looks like but there is no weaving involved - thank goodness!

You can start with wet hair or dry hair but I do find that the ends sty in place better with wet hair. Make a small part coming off of your bang line that is about 2-3 inches long.
It can be right in the center or off to ones side like we've done here. I like how the bags look "swept" this way. Now comb the remaining hair straight back.

Gather a section on each side of your part going down to the ear and secure those sections into little piggies using elastics.

You now have two new pieces of hair that you are going to work with. Simply cross them over each other at the back of the head (over the rest of the hair) and tie a half knot. (The first step when tying your shoelaces.)

Have your princess hold the left side while you gather a small section of hair on the right side just below that first elastic. Secure the right side of your half knot in with that small section by using another elastic. Do the same over on the left side. You've now made the top of your "basket".

You still have two pieces of hair to work with and you are going to cross those over each other to create a half knot once again and just repeat the steps as before. Continue this process down the head until you have gathered all of the hair in from the sides of the head. You may still have some hair hanging down and you can divide that in half and add it to each final piggie by securing them with elastics. The style gives the really cool effect of being woven together when really it's just stacked.
Told you it was simple!


6 comments:
I hope you guys had a great vacation! Any chance this could be made into a short video? I have a hard time understanding how the hair underneath the knots should look like as I am working.
Amber - I will work on getting a video up for this on Friday! :)
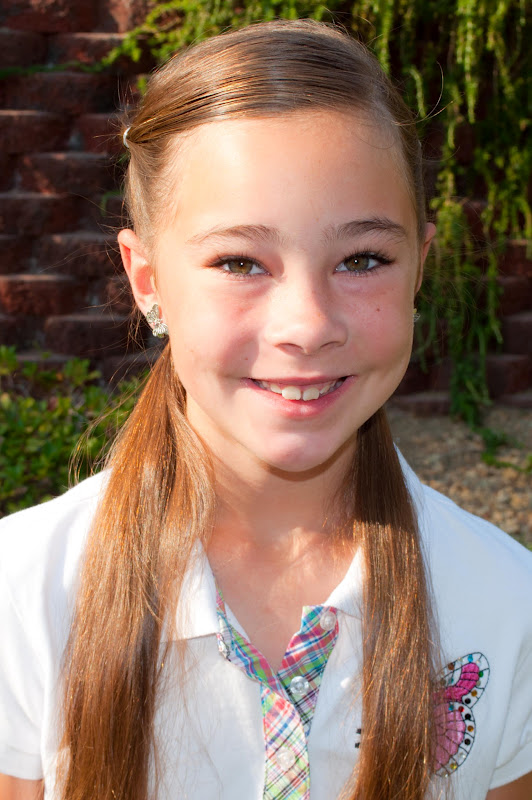
I am so glad that I just stumbled onto your blog! These hairstyles are so cute I can't wait to try them out on my little girls! I really like the pictures with directions that helps me a lot. Your little girl is adorable! Thank you so much! :)
do you have a video of how to do this one? thanks
I did this and just finished all the way down with the knot braid to the end.
Where can we find your videos?
Post a Comment