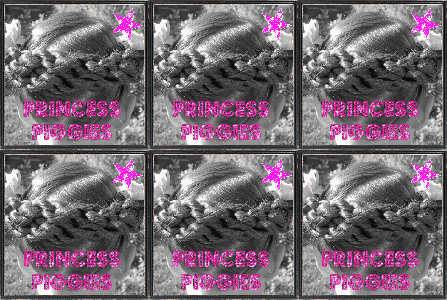
This hairstyle is very elegant and pretty but it is only successful if your princess has medium to long hair. We call it the Braided Borders because everything is outlined with a braid.
Start by creating an off-centered part at the top of the head that is about 4-5 inches long. Next you will divide out that top section of hair by creating another part from one ear to the other. Start on one side of your off-centered part and divide it right in half all the way down to the ear. Have your princess hold the front part in her hand. (The bang part) Move over to the other side of the off-centered part and do the same thing. You should now have 4 sections at the top of the head. Your princess should be holding the front two bang sections so you can work with the back two sections.
Divide the section in half and comb the bottom half closest to the ear straight down because you will only need to work with the top half. Create a Regular 3-Strand Braid out of that top half and secure it at the end with an elastic. Move to the opposite side of the head and do the exact same thing.
Comb the remaining hair (except for what your princess is holding) straight down so it is nice and smooth in the back. Now take the two sections that your princess has been holding and spray them with some water and then slick them down against the head.
You will pull both side around to the back of the head where you will join them with an elastic. Make sure you pull these band OVER the rest of the hair but UNDER the two 3-Strand Braids you created. (Hopefully that makes sense.)
Gather all of the hair that is hanging straight down - including the small ponytail from your joined bangs - and create a tight 3-Strand Braid out of them. Secure that braid at the bottom with an elastic.
Now grab one of your 3-Strand Braids from the side and wrap it down under you big main braid, then up along the opposite side of it, and finally you will tuck it in behind the elastic that combined the bangs. Bobby pin that elastic into place. Repeat the same steps with the final remaining braid and you are all finished.
It's a nice elegant hairstyle that will hold tightly throughout the whole day!


4 comments:
It's absolutely gorgeous, but I just can't follow. If you ever find the time, I think this will be one of those styles where your audience (okay: me ^^) will greatly benefit from a video.
But thanks for the great style anyway, I always know when you update here, I will find something very pretty.
Deborah
I was a little confused at first, but I figured it out and sent my daughter to school today looking absolutely beautiful. I love love love that style. It looks perfect and a great "do" that will stay perfect all day. Thank you so much for your creativeness!
I will definitely get to work on a video for this one! Thanks for the comments!
Man I thought you did a great job explaining how to do this. I'm a hairdresser so thanks can't wait to try this braid
Post a Comment