Friday, January 14, 2011

Lovely Lacing

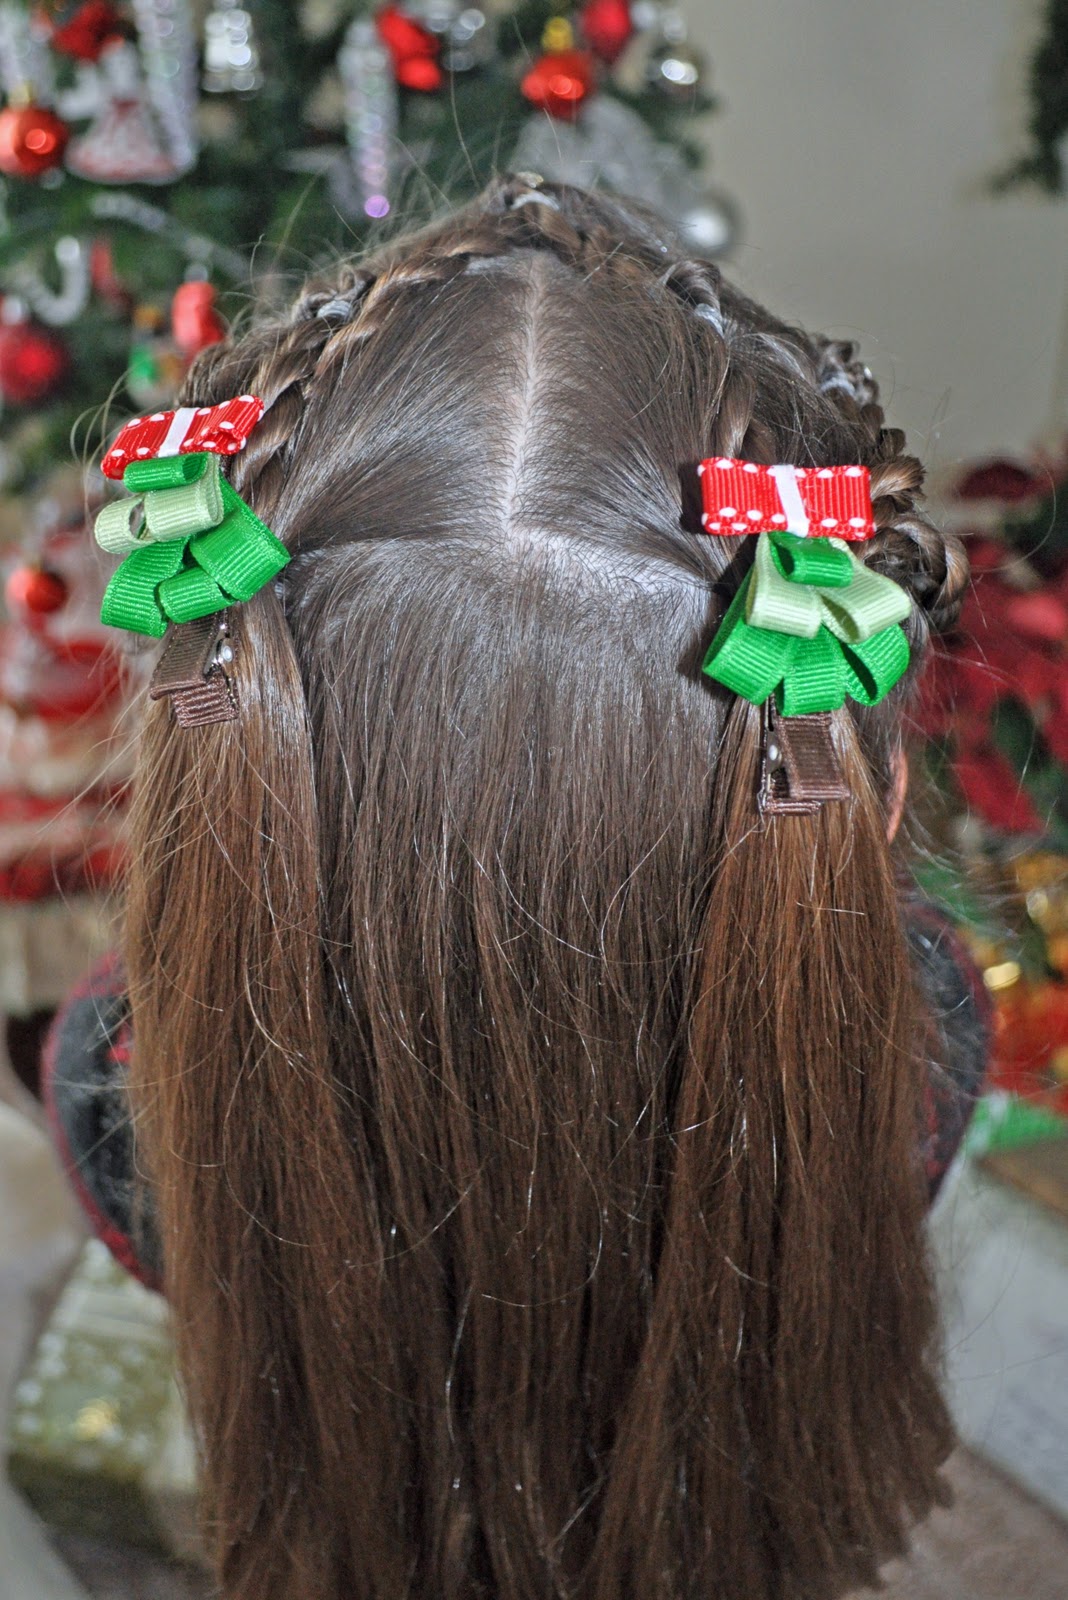
I am the first to admit that Dutch Braids are my downfall but I've found a way to mask some of my mistakes.  Cover it up with ribbon!  :)
Begin this hairstyle by dividing the hair into two halves using your favorite part.  Now create a Dutch Braid on each half of the head.  (Dutch Braids are just like French Braids but you will plate the hair by going under with the outside strands instead of over.)
Now you can either use one long strand of ribbon for each braid or two different strands tied together at the top. We've done two strands tied together because we wanted two different colors. 
 Grab a plastic yarn needle and thread your ribbon through the eye. Pull the very center of your ribbon underneath the very top of your braid.  (This will conceal the area where the ribbon is tied.) 
Now start stitching on one side of your Dutch Braid by feeding the needle back under the hair, the length of one plate on your braid.  Pull the needle back up from under the hair directly in the middle of that previous ribbon stitch.  Make sure your needle come through on the outside of the ribbon and not inside by the braid.  Also be sure that your ribbon does not get all twisted as you stitch.  Feed it down into the hair again, another plate length.  Continue stitching down to the neck and then go up and finish the other side of your braid. 
 Tie your ribbons together in a bow when you reach the neck.  Follow the same steps for your second Dutch Braid.  I really liked how the ribbon covered up some of my messiness with the braids.  :)

Thursday, January 13, 2011

Absorbing Braid

I recently saw this braid done somewhere else and I thought it was a great idea to share.  You'll understand the name as you read the directions.
Begin by parting off the top section of hair from one ear to another.  Secure it all into an elastic and create a 3-Strand Braid.  Braid all the way to the bottom of the hair and then tie an elastic to hold it together.   
Now make another part along the middle of the head from one ear to the other. 
Divide that section into two large pieces and begin another 3-Strand Braid, using your original braid as the 3rd strand.  Braid all the way to the bottom of the hair and then tie an elastic to hold it together. 
Now divide the remaining hair into two large pieces and finish it off with another 3-Strand Braid, using that previous combined braid as your 3rd Strand.  (Now does the name of the hairstyle make sense?)  
Finish off the hairstyle by removing the previous elastics at the bottom of the first two braids and securing all of the final braid with one elastic.  Add a ribbon over the original elastic at the top of the head and a flower over the bottom elastic and it's done. 

Wednesday, January 12, 2011

Rapunzel Braids

We actually did this hairstyle before Christmas but decided not to post it until we had seen "Tangled".  (Darling movie!) 
 These are our version of Rapunzel Braids.
We started with a small section of hair in the front where we created a Pull-Through and then we parted the rest of the hair straight down the middle. 
 Now pull each half of the hair up into a side piggie.  Grab two small sections from one of the piggies and create 3-Strand Braids out of both of them. 
Comb the rest of your piggie out so that it's nice and smooth and then wrap the two braids around the piggie. Make sure your braids are wrapping in opposite directions.  Secure it all together at the bottom with an elastic. 
 Repeat the same steps with your other piggie and you're finished! 

Monday, January 10, 2011

Maiden Braid

Here's a hairstyle that just sort of happened one morning. 
 My princess named it the "Maiden Braid" because I said to her, "Oh, you look like a fair maiden."  :)
We began with two semi-diagonal French Braids along the bang line. 
The "French" part was about 5 inches long and then the rest was just finished off with a regular 3-Strand Braid. 
 Gather some hair from the front of the head, on the opposite side of the French Braids, and create a regular 3-Strand Braid. 
Now pull all three braids to the back of the head.  Have the single braid lay right between the two braids from the opposite side and bobby pin all the braids together. 
You will have little ends sticking out on each side so grab a small section of hair from each side of the head and pull it over the loose ends to hide them.  Combine the new hair in the back with an elastic.  Gather two more sections from each side of the head and combine that in the back with an elastic again.  Now gather all of the hair that is down and create a low braid. 
 Finish it off with a fun little clip and you're all set to go.  The cupcake clip is fun for birthdays so feel free to copy the idea if you like it! 

Sunday, January 9, 2011

Hello Kitty

This is not really a new hairstyle but my princess was so excited about her Hello Kitty hair clips that she insisted we do a post about them.  :) 
 The hair is just a zig zag part pulled into two Quad Braids. 
Here are the clips to match her sweater. 
 (She's a big Hello Kitty fan.) :)

Friday, January 7, 2011

New Year's Resolution

So one of my New Year's Resolutions this year is to simplify.  This hairstyle totally represents that for me because it's so easy but is still fun. 
 My princess picked out the colored bands she wanted to use and it's just a regular low-ponytail with a pattern of elastics wrapped around it.  It took less than 2 minutes!  Now that's what I call simplifying!  :)

Thursday, January 6, 2011

Happy 2011!

It's so nice to be back home and getting back into our regular routine.  I hope you all had a wonderful holiday season and a Happy New Year!  We mostly used old hairstyles while we were on our trip but this is one that was new for us.
Start by creating 5 small Pull-Through sections around the front of the hairline. 
Now create 4 more Pull-Through sections behind the original 5.  (Make sure they are staggered and the parts aren't directly behind the first ones.)
Create a Corkscrew out of each Pull-Through.  Divide the front middle Pull-Through into two Corkscrews.  Now create 3-inch part down the middle of the hair, directly behind the sections your created.  Section out some hair from the middle part down the the left ear and pull that hair, along with the Corkscrews from that side of the head into an elastic.  Do the same for the right side as well. 
 Now straighten out the rest of the hair and curl the ends under.  We added some twisty jewels to the front Pull-Throughs and some Christmas Tree clips to the back elastics to finish it off.