Wednesday, October 20, 2010

Halloween Hairdos: Neanderthal

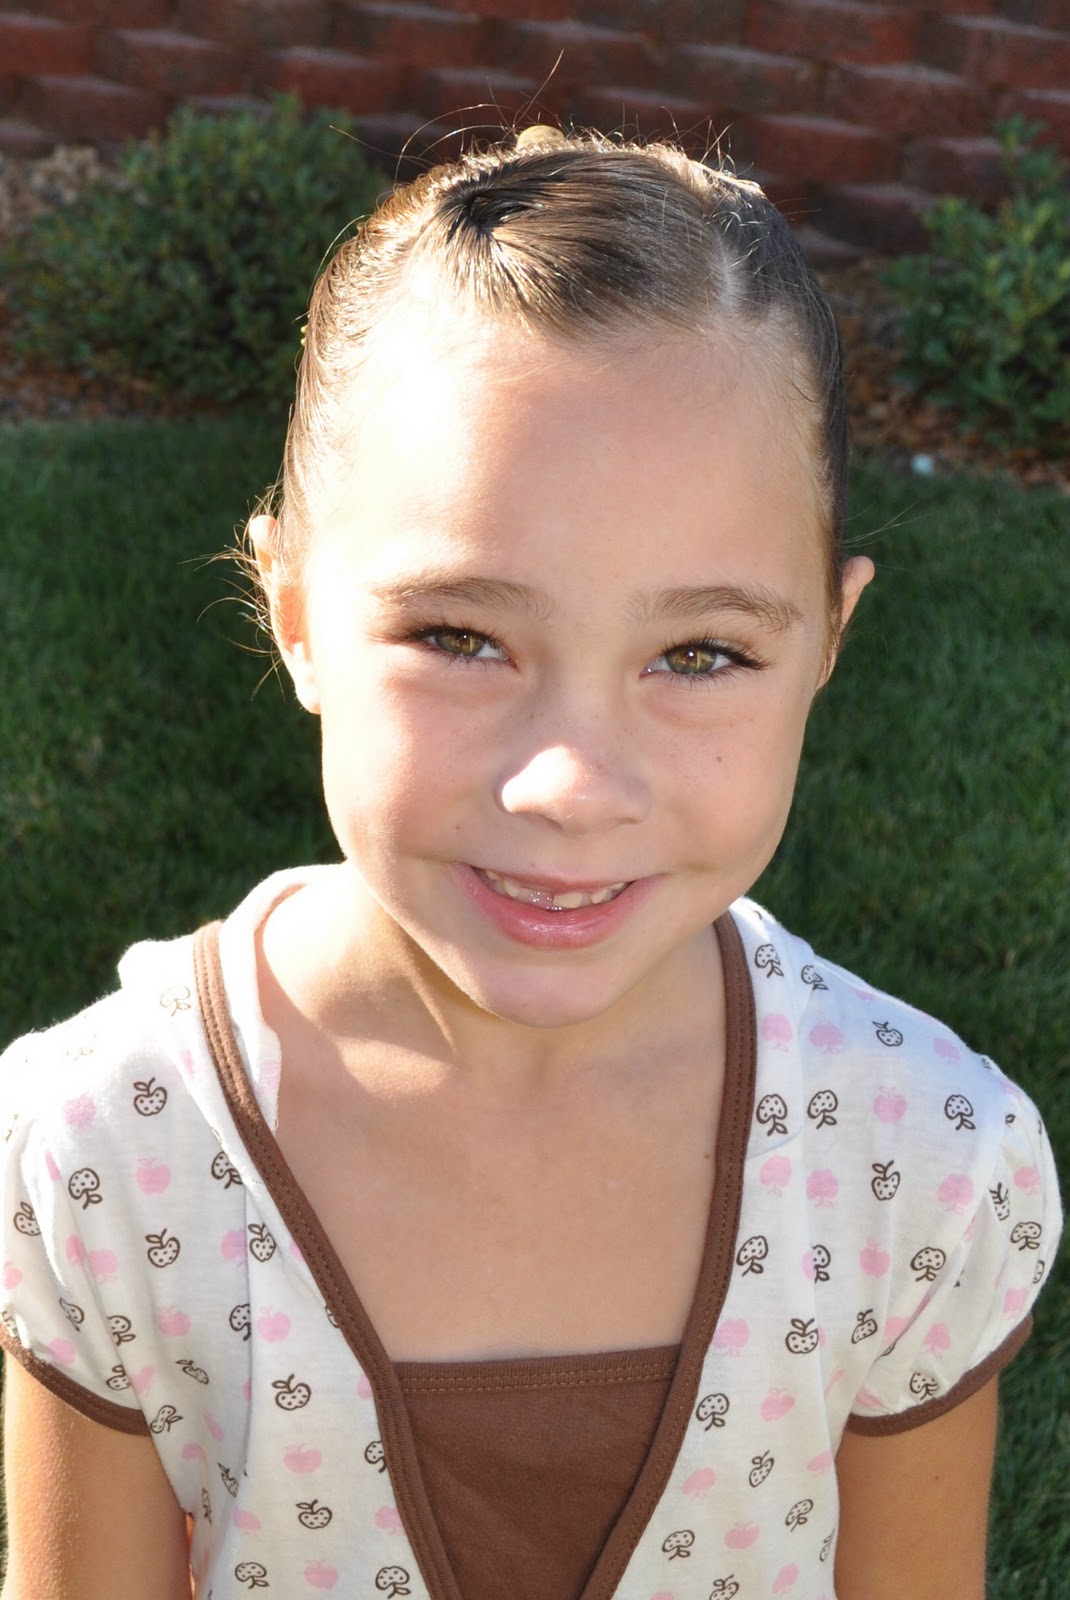
This is a really simple idea just for fun or if your princess is going to be a Neanderthal for Halloween.

 
I got this bone from an outdoor skeleton kit that my husband is using as part of his cemetery in our front yard.  Make sure the hair is really wet and pull it all back into a tight ponytail. 
 Take a small section of hair from the top of the ponytail and comb it so that it's really smooth.  Place your bone at the ends of the section and then roll it down to the head - just like you would roll a curler.  Use a bobby pin on each side of the hair to hold it in place. 
Now Barrell Roll the rest of the hair up under the bun and bobby pin it into place as well.  A Barrell Roll is basically taking all the hair and (beginning at the ends) roling it up into itself and making the shape of a barrell.  (The same motions you did with the bone but there is no bone in the middle.)  Make sure your pins form an "X" for a stronger hold. 
There you go - Ugh!

Tuesday, October 19, 2010

Halloween Hairdos: Monster Eyes

A little while ago I had a post called "Infinity" and this is just exactly that hairstyle with some fun things added to it.
(Please refer to that post if you need step by step instructions.) 
First you are going to need some eyeballs.  These are little glow-in-the-dark eyes that I cut in half.  I got these at the dollar store but I've seen them all over the place.  Poke a hole on the side of each one and feed bobby pins through them so that each eye has two bobby pins. 
 Once you've finished the "Infinity" hairstyle you can just pin the eyes right into the middle. 
We also grabbed two green pipe cleaners and wrapped them around a pen to curl them.  (Only wrap 3/4 of the pipe cleaner because you will need the rest to stick down into the hair.) 
 I tried to get a picture of the eyeballs glowing in the dark but the camera didn't like it much and the pictures were very blurry. 
My princess loved this hairstyle!

Monday, October 18, 2010

Halloween Hairdos: The Mummy

This is one of my favorite Halloween Hairdos and I've been waiting to do this one for a while. 
First you will need your bones.  Remember the skeleton garland I told you I got at the dollar store...
Well this is the head, arms, and legs from one of those skeletons.  (I used one of them in "The Coffin".)  So many wonderful uses for these little guys.  :)  I simply hot glued some bobby pins to them so that they could secure into the hairstyle.  Again, this hairstyle needs to have very wet hair to work properly. 
Start with a small Pull-Through in the front just for looks.  Now go ahead and create "The Cast" which I posted a couple weeks ago.  (Please refer to that post if you need step by step instructions.)  Once you've finished "The Cast" go ahead and grab your skeleton parts. 
Stick the skull right up in top and the legs up through the bottom so that only the feet are showing. 
Now grab both arms and add them on each side, about 1/2 inch below the skull. 
 Isn't this mummy awesome?!
  I also think it looks really nice without the arms but you can choose to do it either way.

Sunday, October 17, 2010

Halloween Hairdos: "BOO"

 Make sure the hair is really wet before you begin this hairstyle.  Grab a rat-tailed comb to make your parts - and try to keep them as straight as possible. 
First, section out the bang area and pull them tightly over to the left ear and secure them with an elastic.  Now make 3 parallel sections going from the top of the head down to the neck. 
 Pull the middle section up into a tight, centered ponytail.  Now pull the right section into a ponytail as well but keep the ponytail somewhat close to the part. 
Grab two bun molds (or cut the toe out of two separate socks and roll them into themselves to create a mold) and slide them over each ponytail. 
Spread the hair over the mold and secure it with another elastic over each mold.  Now twist and wrap the excess hair around the mold and bobby pin it in.    Move over to the left section and divide the ponytail from the bangs into two sections.  *Keep in mind that you can braid your "B" which ever way works best for you*. 
Start with the left little section and begin braiding straight down by the ear.  When you plate it down to where you can begin adding hair, start to French Braid it.  Keep going until you get to about 1 1/2 inches from the neck and start to turn your French Braid - making the bottom part of the "B".  Finish the bottom curve (only the rounded part - don't French Braid the middle section leading back to the beginning part of your braid) and stop adding hair into your braid.  Finish plating the hair you are holding with just a regular 3-Strand Braid.  Secure it with an elastic at the end and let it just hang for a minute.  Now go back up to that right section of your little ponytail and begin French Braiding that into the top part of your "B". Gather all of the hair into the braid by the time you finish with the top curve and then just finish the hair off with a regular 3-Strand Braid. 
Twist the two 3-Strand Braids together and then bobby pin them down to the head - creating the middle section of your "B".  Tie an elastic around the two braids when the "B" is finished and un-plate any remaining braid below the elastic.  Brush it out and then make just one braid of your choice with that hair. 
Tie a ribbon around the elastic right next to the "B" and you're all finished.  Stand back and look at it and you can read "BOO" across her head!
 This is the clip that we put in her hair later and it was perfect because it was a little ghost saying "BOO"!  :)

Friday, October 15, 2010

Halloween Hairdos: Bone Yard

There are a bunch of twists in this hairstyle and those represent the bones in our bone yard - you may have to use your imagination with this one.  :)
Start by pulling a section of hair from the front into a small side ponytail.  Use your Topsy Tail and create a Pull-Through.  Keep your Topsy Tail handy because you'll use it a lot in this hairstyle.  Divide the rest of the hair in half and tie one side off while you work with the other. 
Create a part from the ear up to the middle part and tie it into an elastic - making sure to include the front section if it is on that half.  Create a Inverted Pull-Through by pulling your Topsy Tail up instead of down. 
Create another part parallel to the one just above it but about 2 inches down.  Divide the new section into two equal squares and tie each off with an elastic.  Now grab the hair from the Inverted Pull-Through and divide it into two pieces.  Twist each one and add them to the squares just below with more elastics.  
 Now twist those two ponytails down and add them in with the remaining hair at the bottom of the head by securing them with one elastic.  Repeat the exact same steps on the opposite side of the head and you should end up with two ponytails. 
Create a Corkscrew out of each ponytail and secure them at the bottom with elastics.
  You can add some festive Halloween bows and leave it finished at this point. 
 We wanted to get a bit more creative so we grabbed some little whistles the kids got in a goody bag. 
You can use the skulls or the pumpkins or whatever else you come across. 
We just tucked them into the first Inverted Pull-Throughs and they seemed to hold tightly. 
 They help create the look of the actual bone yard. 
Spooky yet darling!

Thursday, October 14, 2010

Halloween Hairdos: Spider Rings

If your house is like our house, we always end up with a million little plastic spider rings after Halloween.
 We found this bag of spiders, bats and skulls and decided to try and put them to use.   
Basically you will be decorating Puffy Braids with the rings by cutting a slit in the bottom of the ring and then wrapping it over the elastic on the Puffy Braid. 
We started our Puffy Braid with a Zig-Zag Part.
Then just create a new section of the Puffy Braid every time the part hits a point. 
 Once your Puffy Braid is completed and all of the hair has been added in, you can decorate it with your rings in any pattern you like. 
You can also do it according to theme if you like:
Spiders
Bats
Skulls
We also added some cute little bows to the bottom of the ponytails.
The ribbons in the bows matched the rings perfectly which was just a lucky coincidence.

Wednesday, October 13, 2010

Halloween Hairdos: The Coffin

I would suggest that you use this hairstyle on a day off from school because I think it would cause quite the distraction in the classroom!  :) 
I found a group of these skeletons on a garland at the store.  I bought them to use as a decoration in the house but have ended up using them for hairstyles instead.  I simply cut them off of the garland and they were ready to go.
 Start by parting the hair from ear to ear and then dividing that top portion into 4 equal areas.  Secure each area with an elastic and then create a Pull-Through. 
 Now take the ponytail from the middle-left section and divide it in half.  Take the right half of the ponytail and pull it over to the middle-right section and add it in by securing it with an elastic.  Take the other half of the middle-left section and add it to the far-left section about 1/4 inch down.  Go back to the middle-right section and divide that into half. (You will only use one half of this and the other half will just fall straight down.)  Grab the right half and add it to the far-right section about 1/4 inch down.  Now comb the rest of the hair down to the neck and make two tight ponytails - making sure that right section from above has been added into the right ponytail and the left section into the left ponytail. 
 Grab your plastic yarn needle again and plenty of black ribbon to outline your coffin.  Thread the needle by folding some dental floss through the eye, placing the ribbon in the dental floss and then pulling the floss with the ribbon back through the eye. Now simply weave around the entire outline of the coffin. 
 I've also left some extra ribbon on each end and wrapped it around the bottom elastics. I then braided the ponytails and included the ribbon in the braids.
Grab your skeleton and get ready to attach it. We've wrapped some dental floss around the neck and tied it to the top two elastics.  We've also glued some bobby pins to the back of the legs and pinned those right to the hair.  I'm sure there are several ways to attach this guy but this way seemed to hold quite well. 
We added some cute little bows to the ends of the braids so that the whole hairstyle wasn't completely grotesque - but then again, that's what Halloween is all about right?!